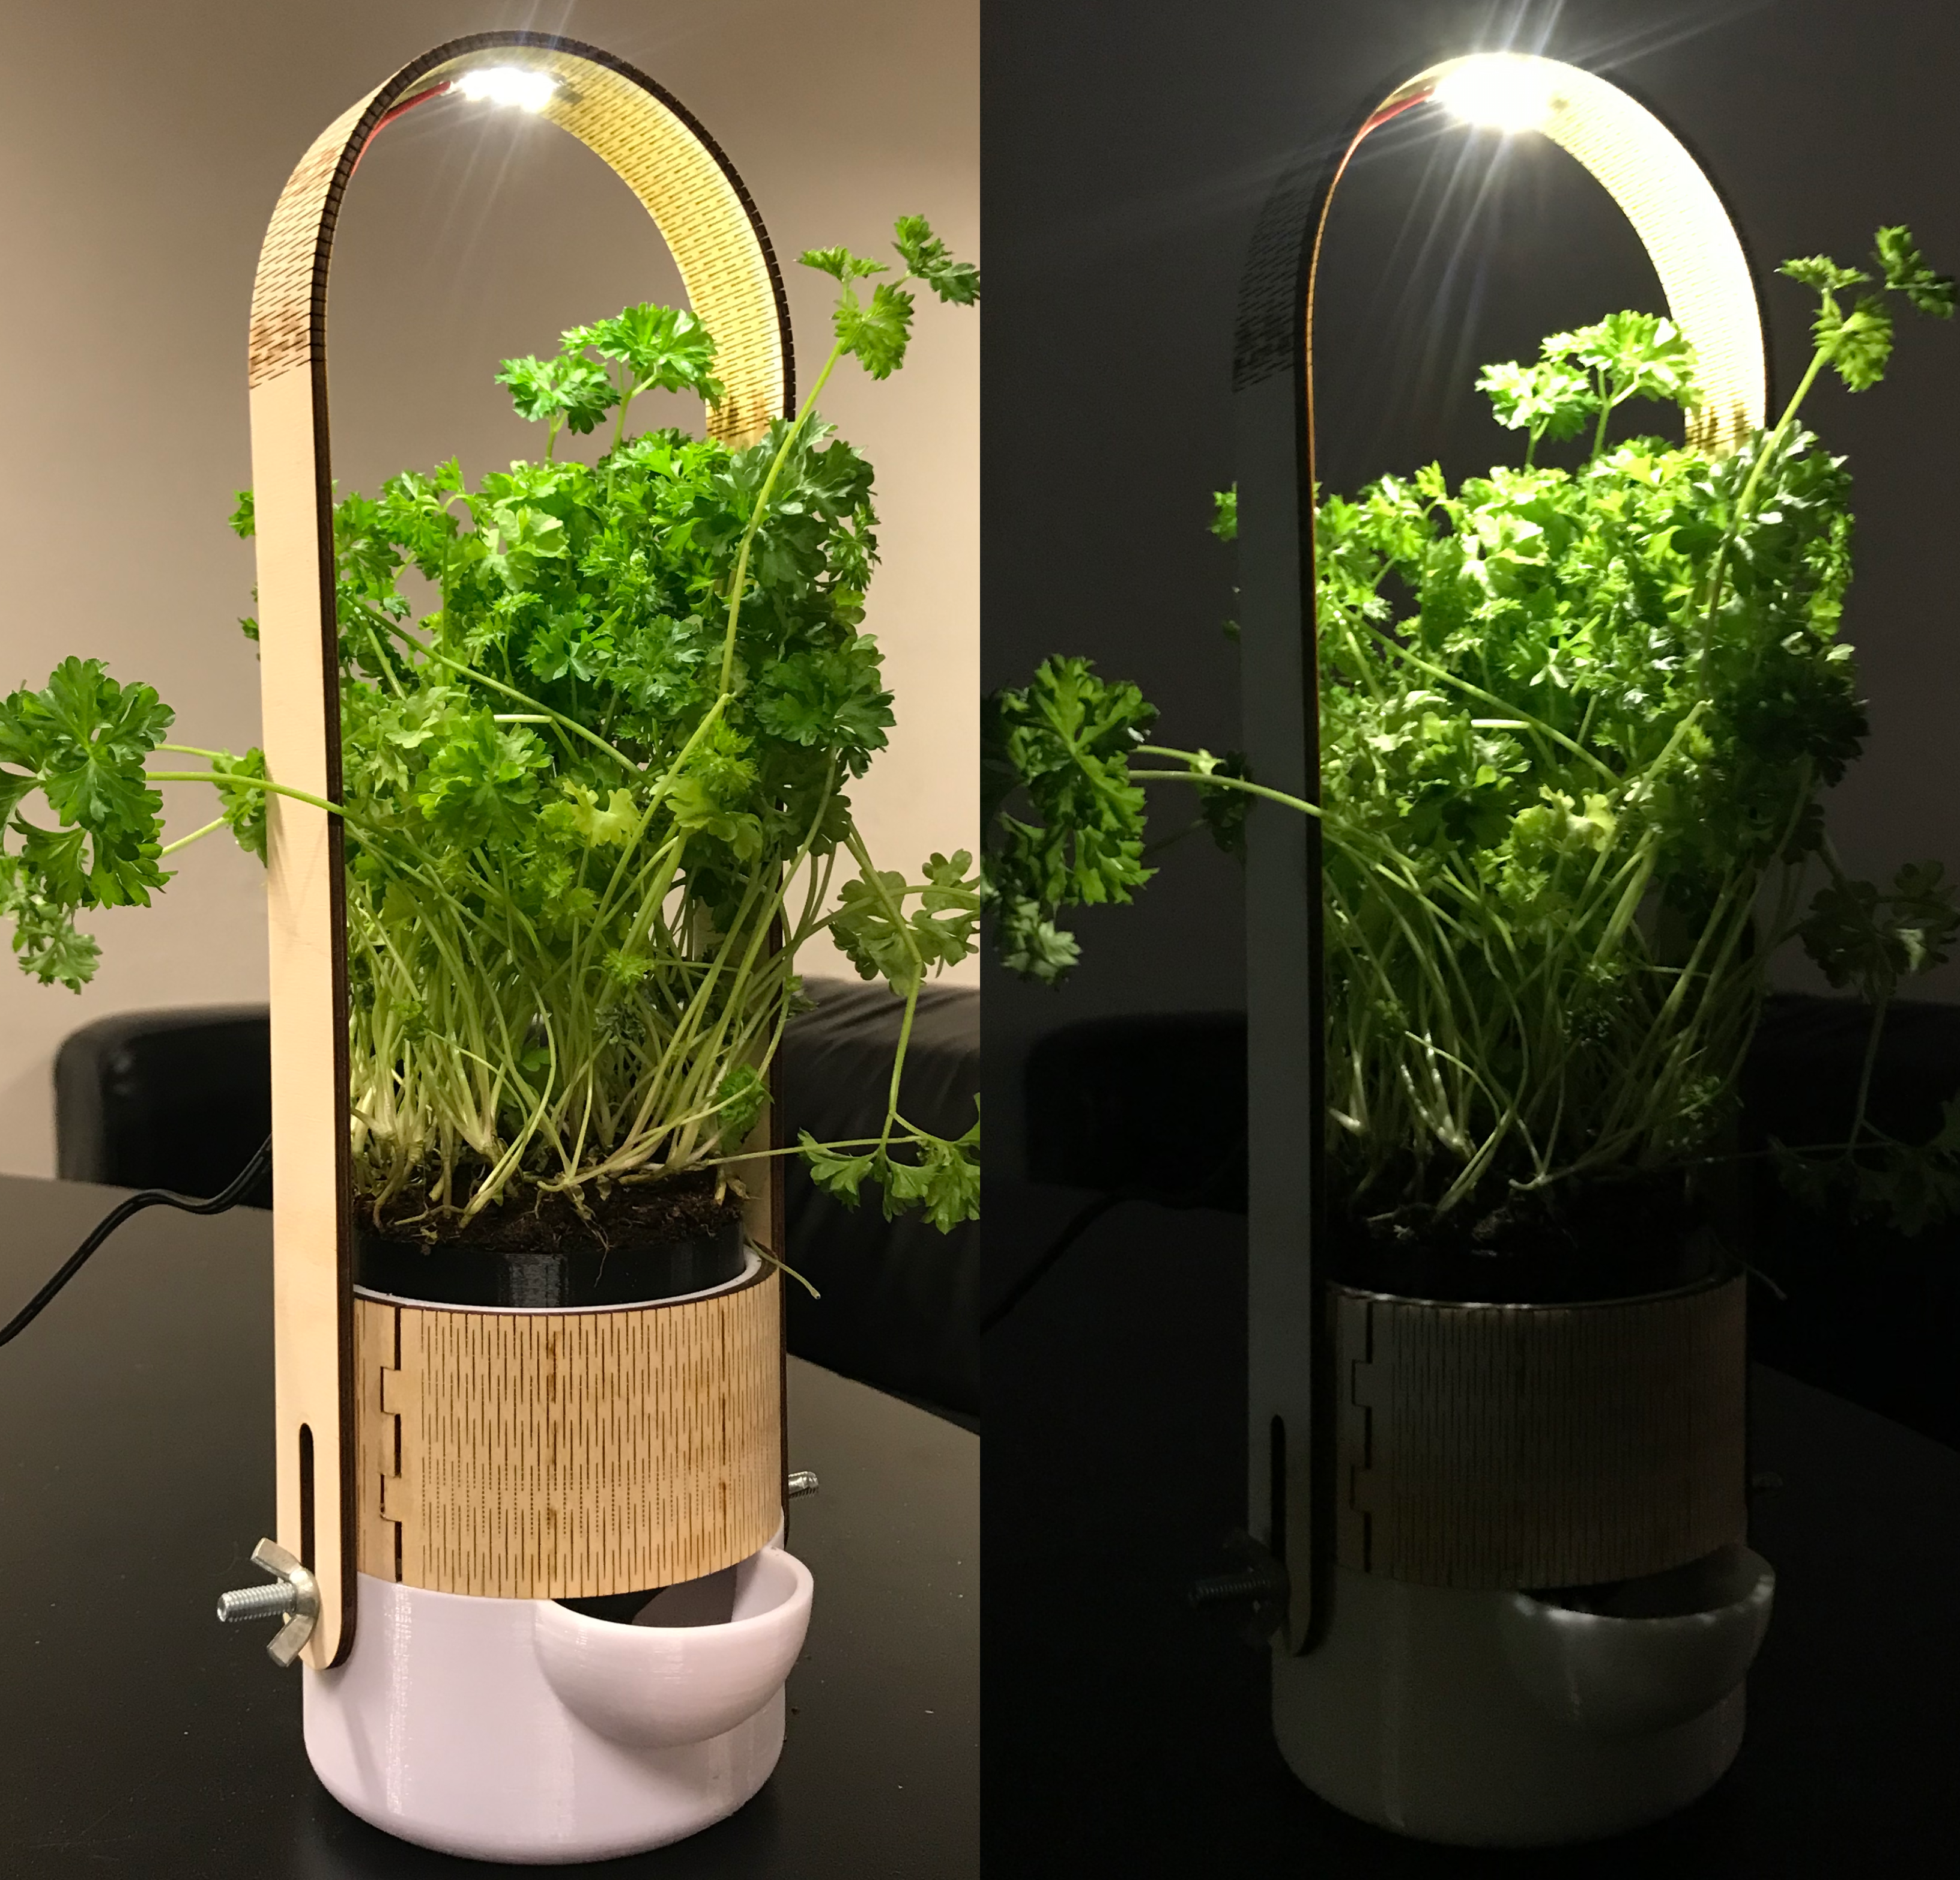
Minimalist Smart Planter with self-watering and LED-lighting.
Introduction
The smart planter, fits most herbs bought in the supermarket, and will help keep is fresher for longer. Or you could use it for growing your own herbs.
I made this with two of my schoolmates, for a school project. And sorry for the lack of images, but I have not been able to go to school and take more, because of the current situation in the world.
You will need:
- A 3D printer and at least one spool of any color PLA filament (or you could use a 3D service like Shapeways to print it for you)
- 4 mm plywood and access to a laser cutter
- Short white LED strip
- Power supply for LED strip
- Two bolts and two wingnuts
- Wood glue and hot glue
- Some sort of waterproof or watertight paint, since the 3D-print can leak water
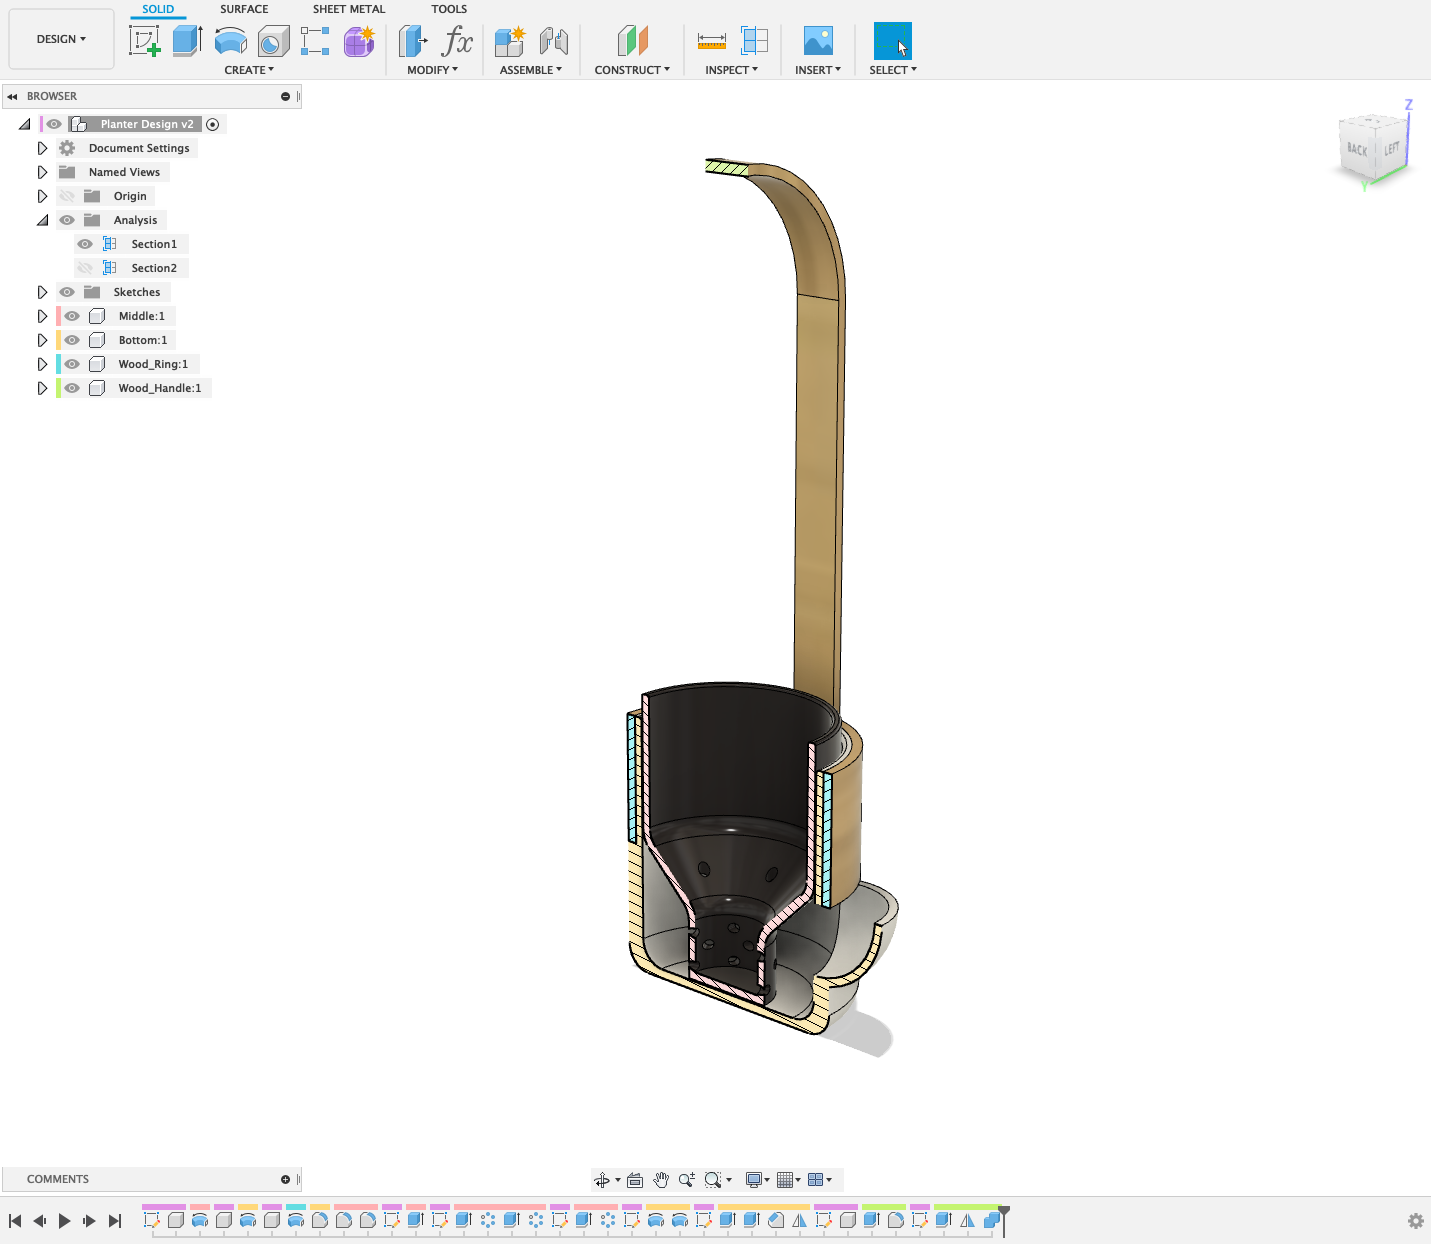
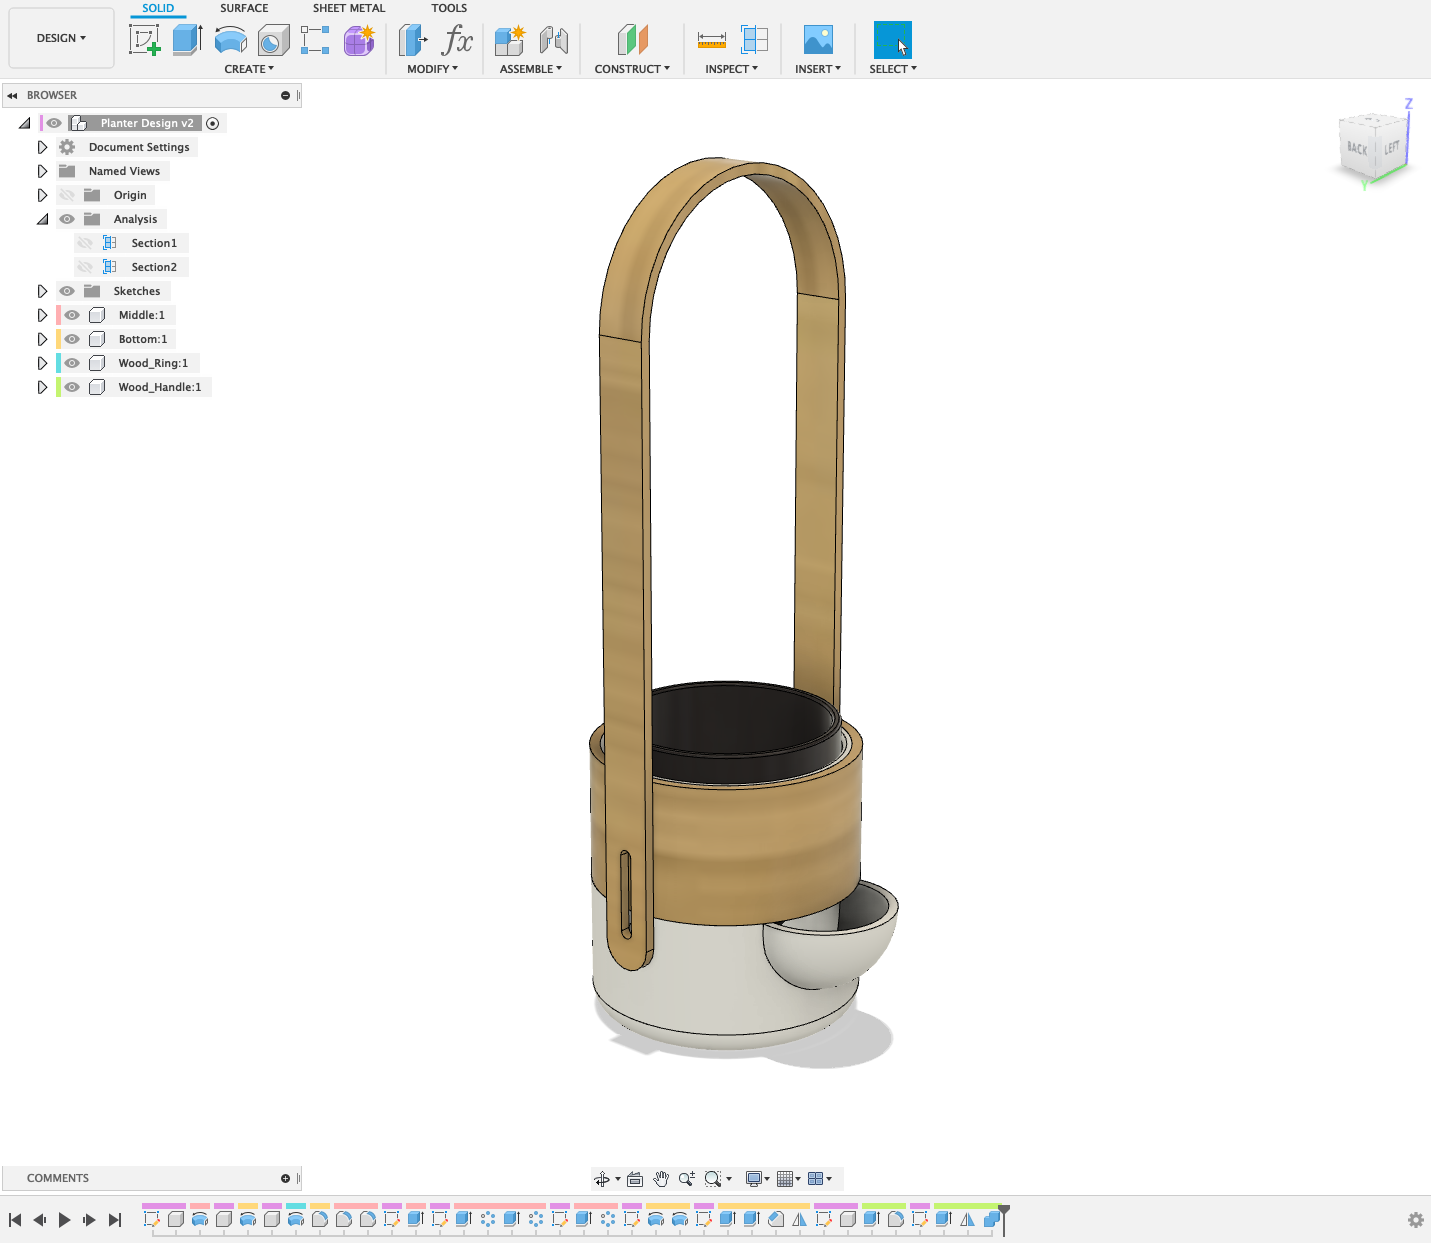
The Planter
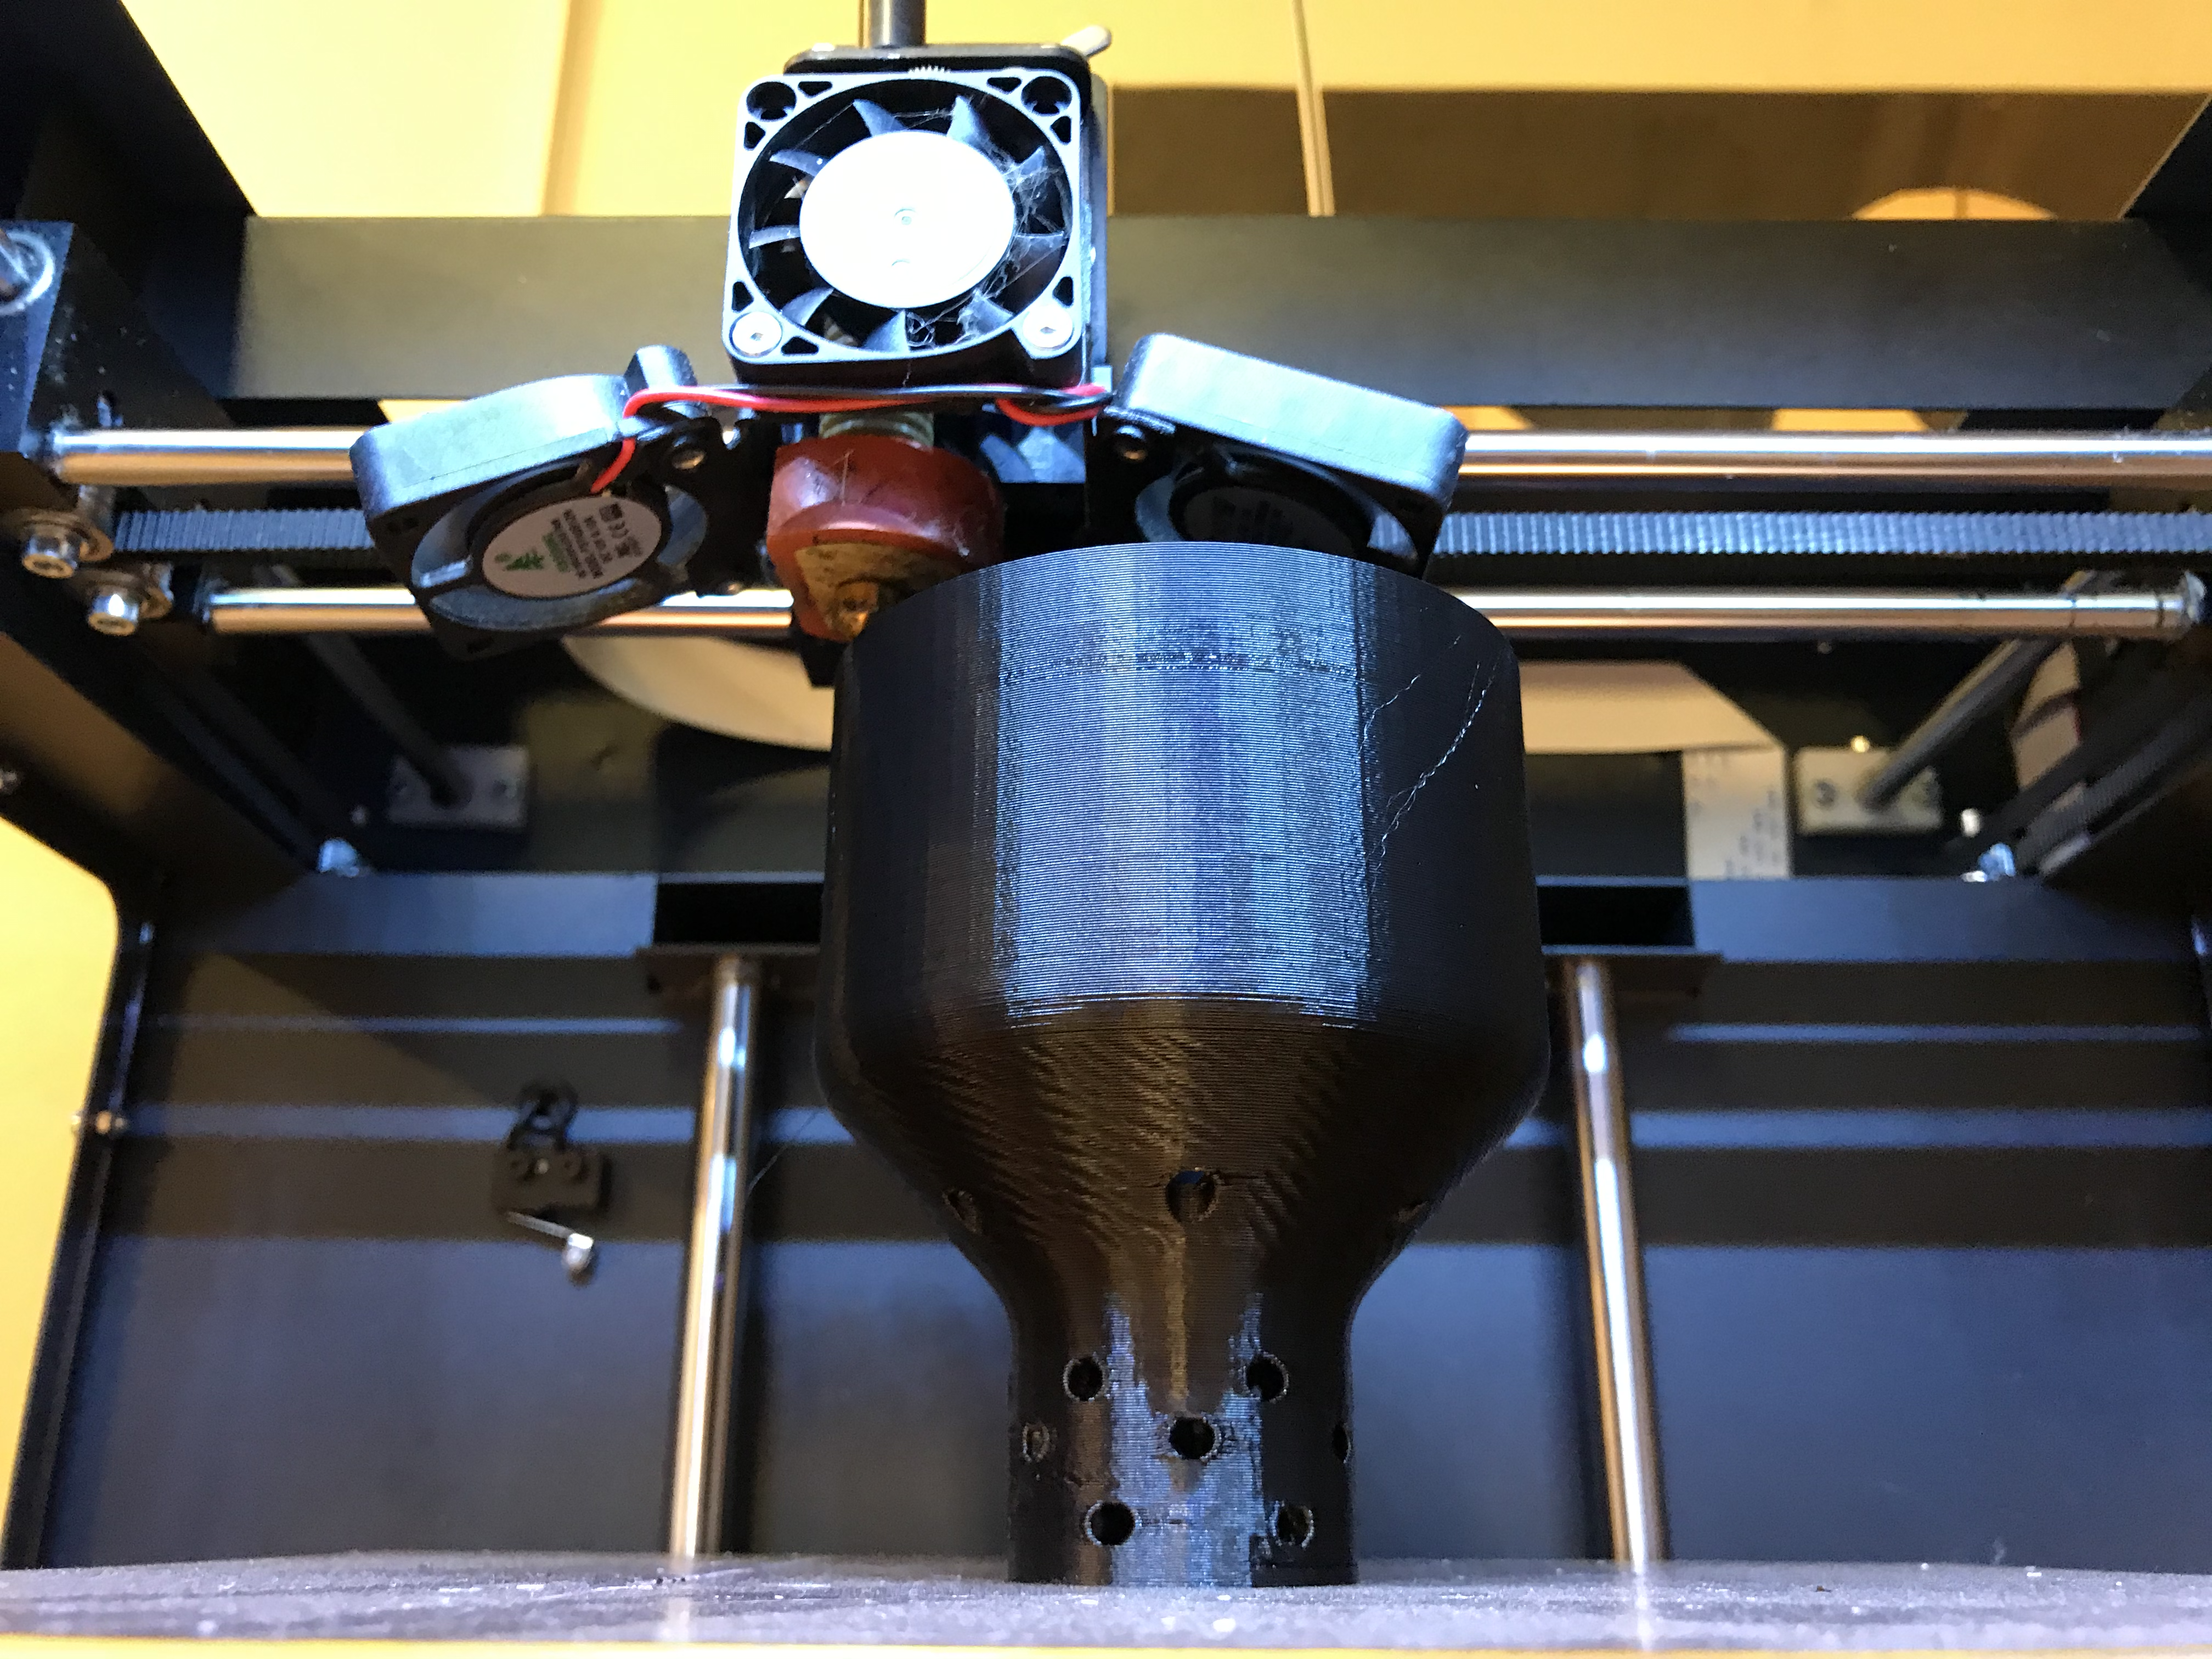
3D printing
Print the files from the link below or from thingiverse here.
You will have to print the following:
- The Bottom (White)
- The Middle (Black)
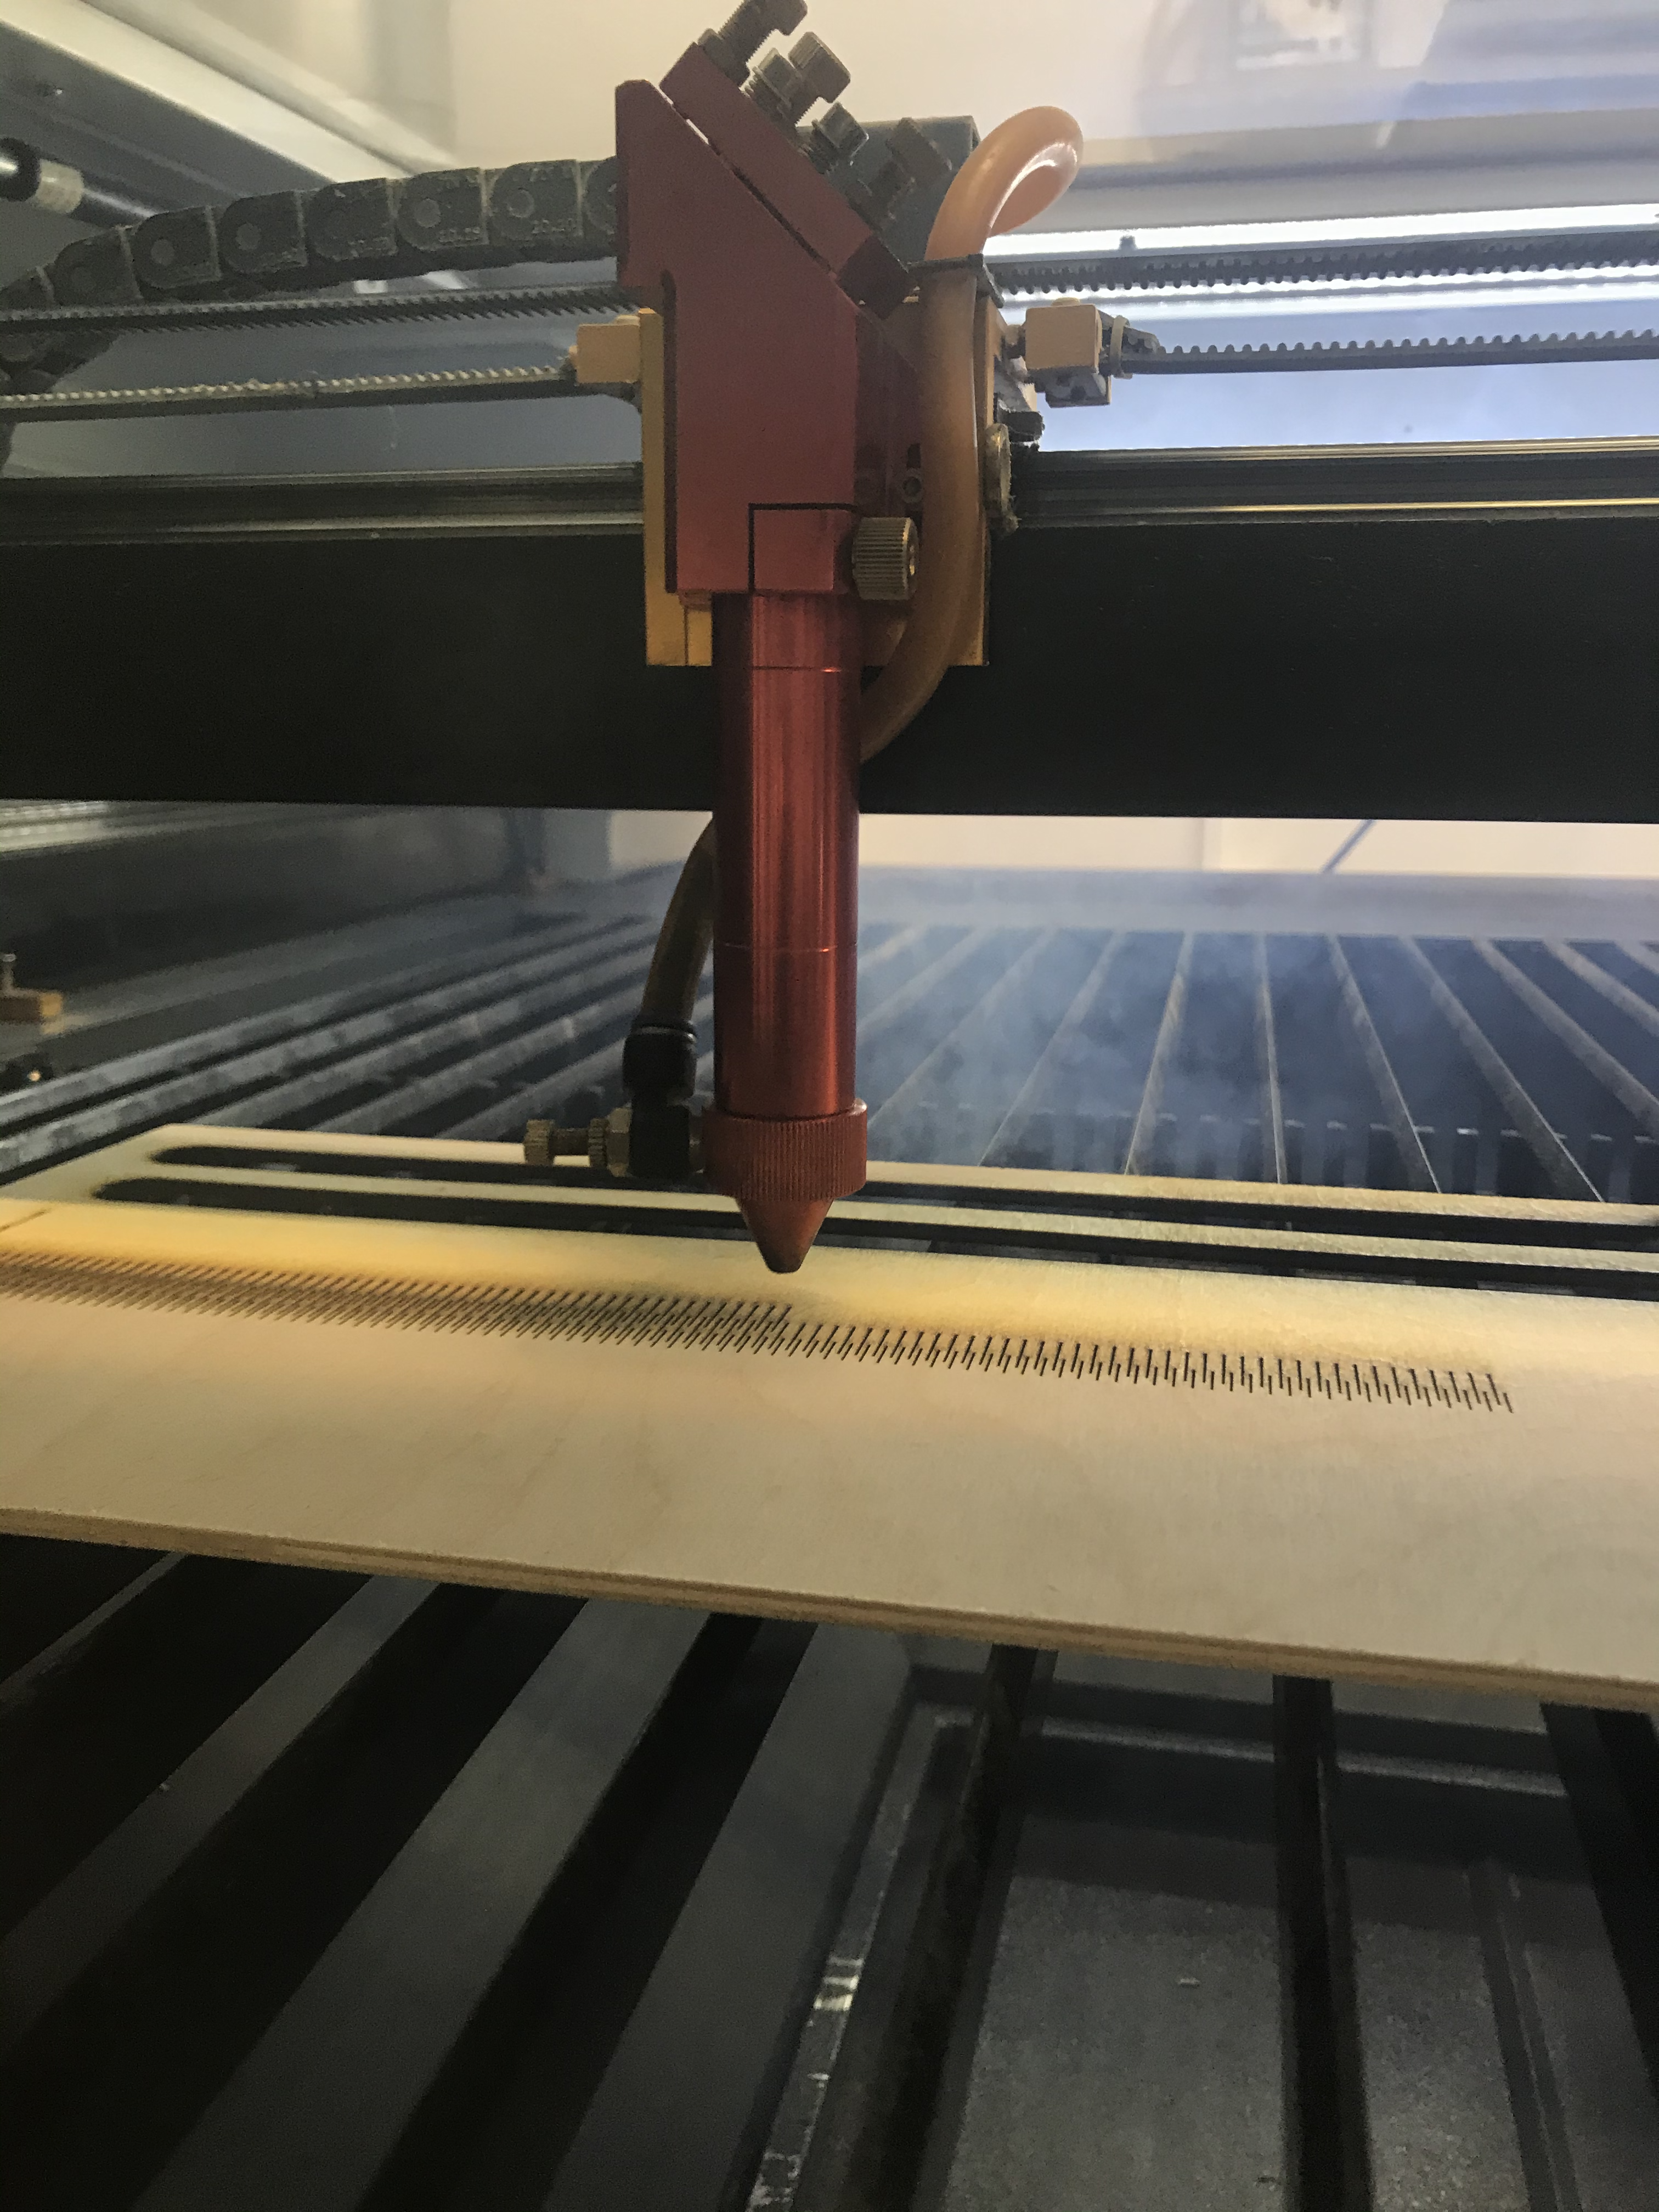
Laser cutting
Cut the files from the link below or from thingiverse here.
You have to laser cut the following in 4mm plywood:
- The Handle
- The Ring
Note that the Handle unfortunately is to flimsy to be able to be used as a handle, and is therefore only there to mount the LED strip on.
Electronics
Solder the end of the LED strip to the 12 V power supply
Check to see if it works and is soldered correctly, by plugging it into the wall, and turning it on.
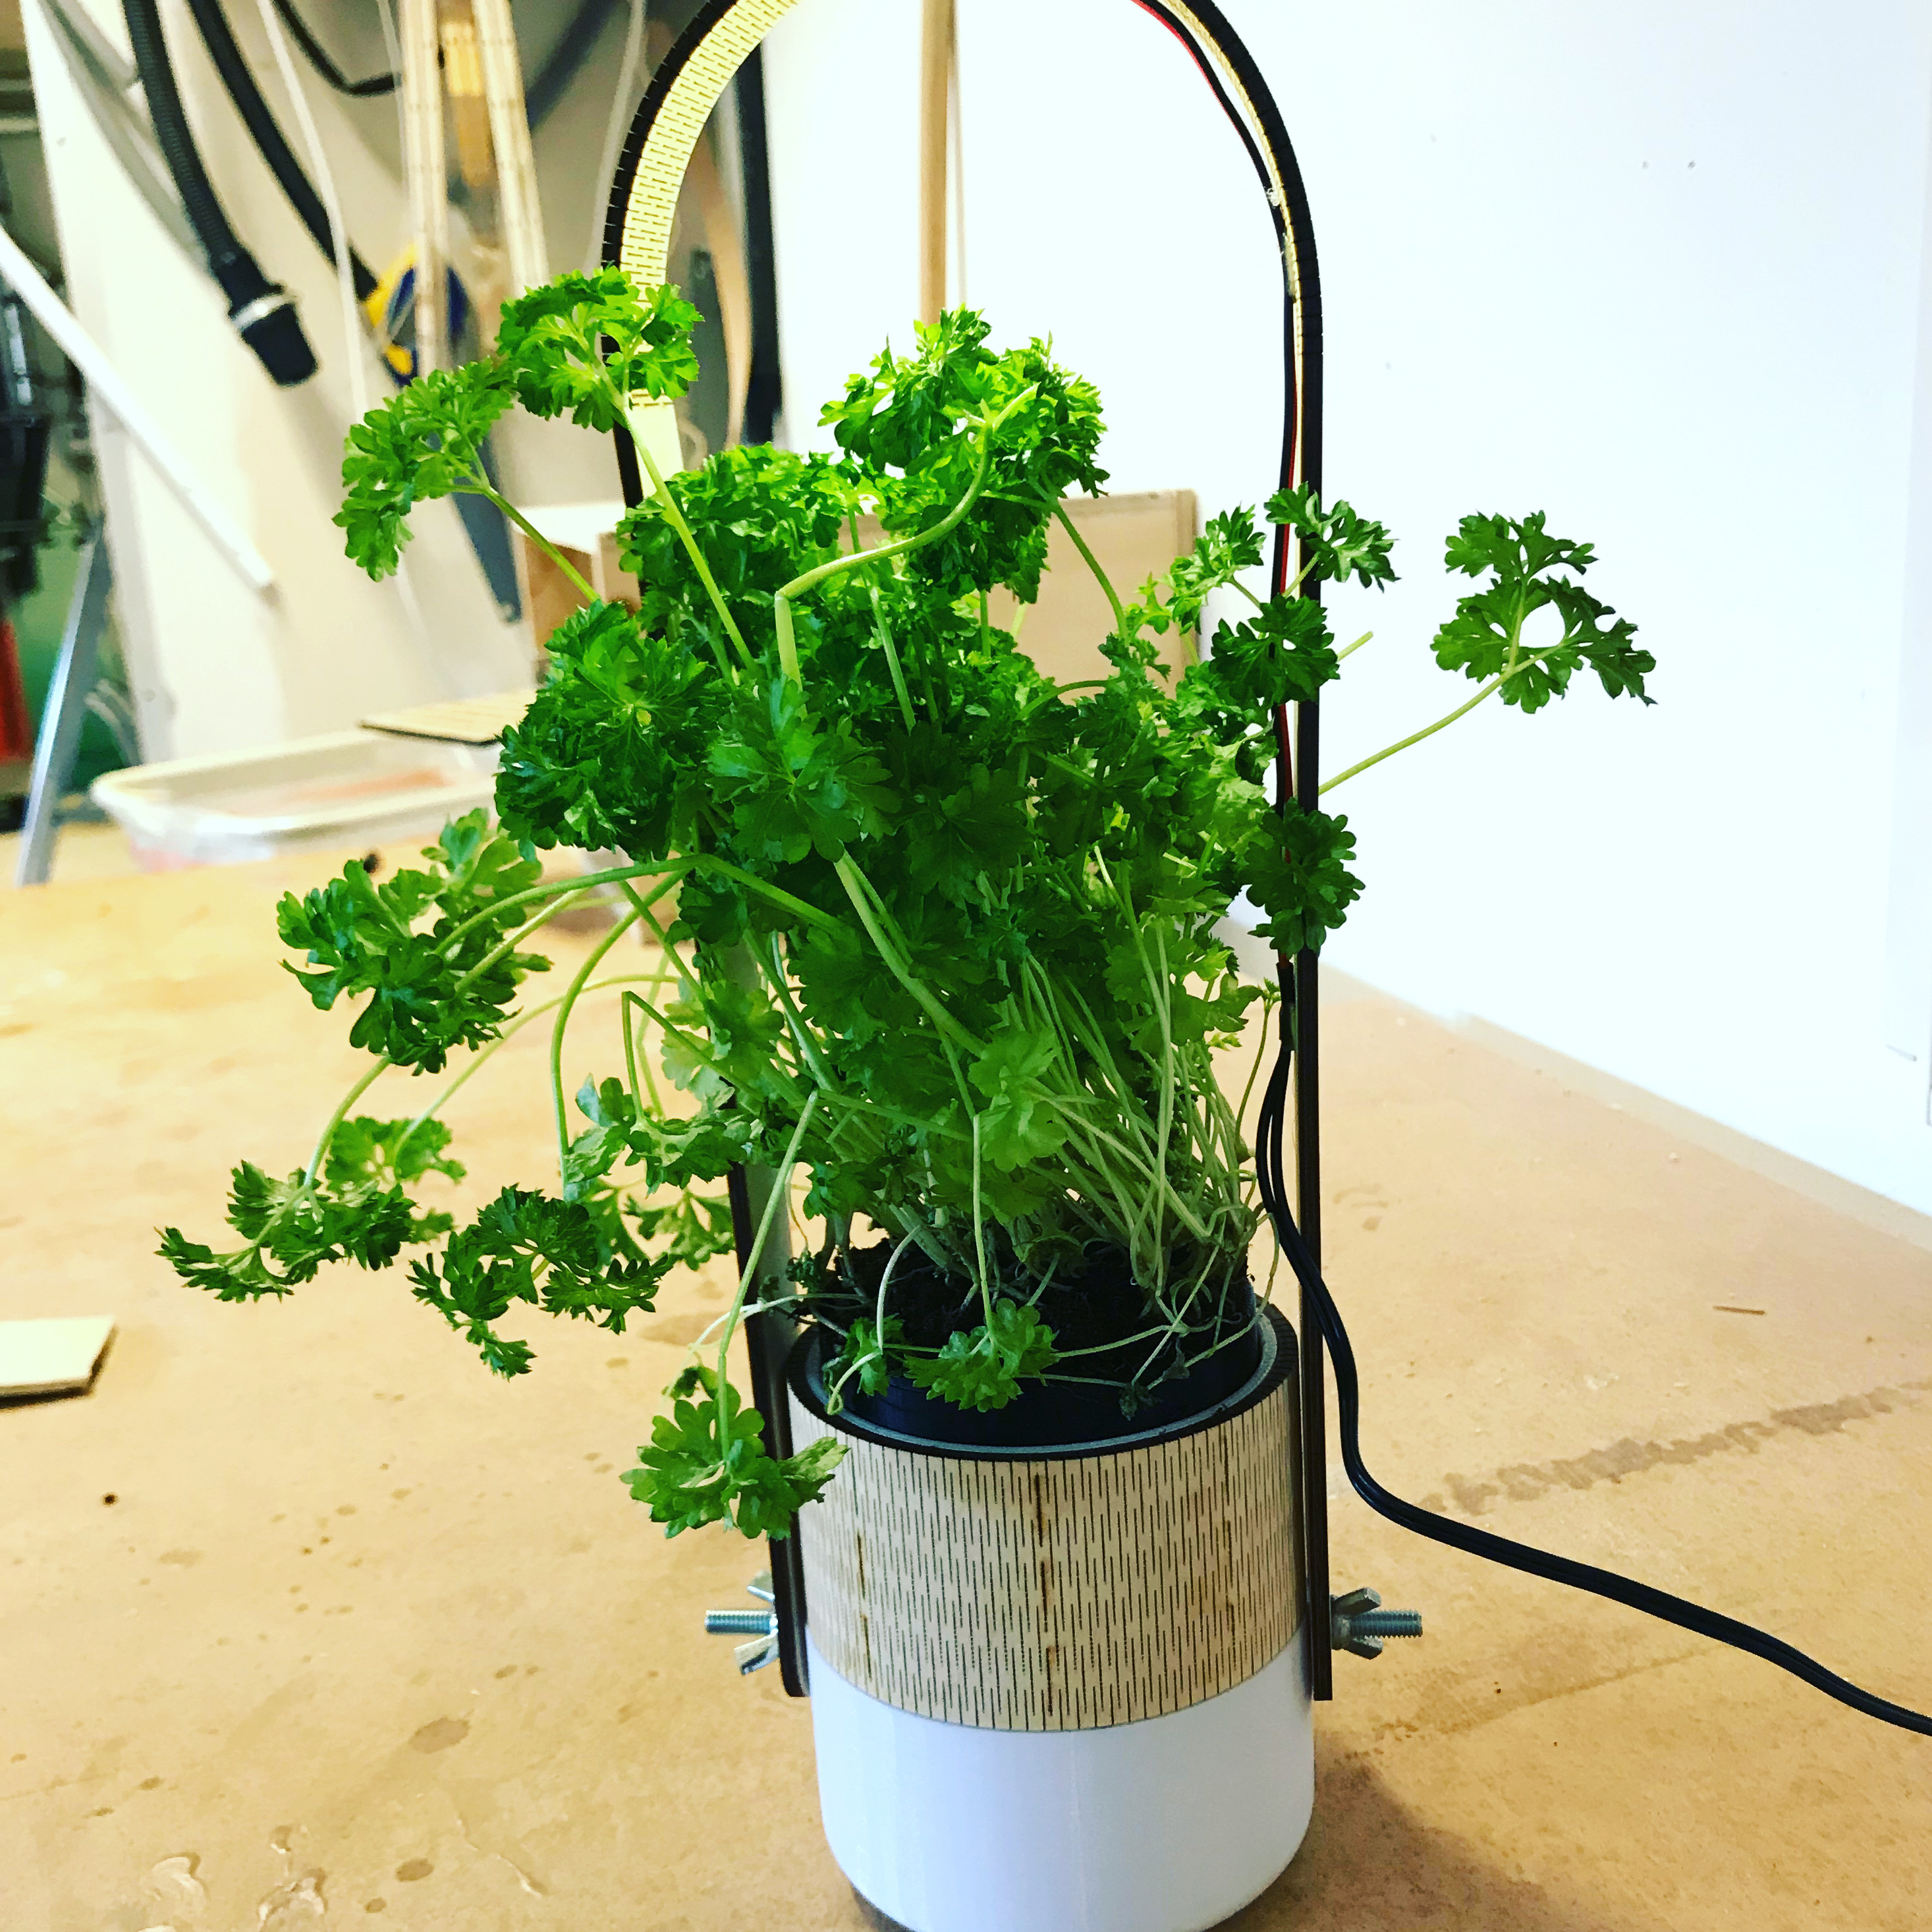
Assembly
1. Insert the bolts in the Bottom from the inside
2. Plant the plant in the 3D printed Middle
3. Place the Middle in the Bottom
4. Bend the Ring around the Bottom, and glue it in the ends with wood glue. Hold it in place, while the glue dries, with a clamp.
5. Secure the Handle on the bolts, with the wingnuts
6. Glue the LED strip to the underside of the Handle, with hot glue
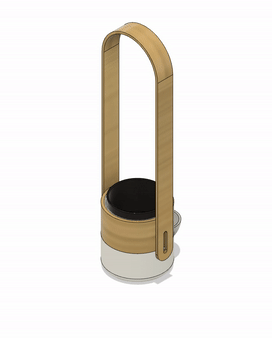
The result
Congratulations, you're done!